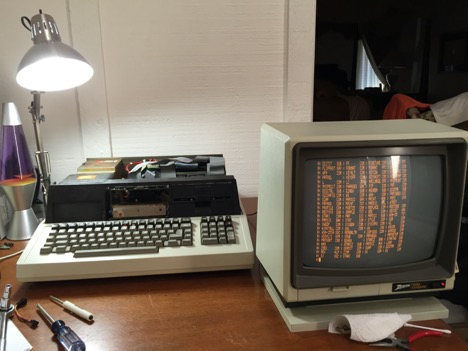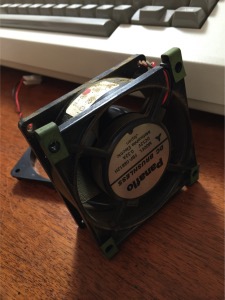
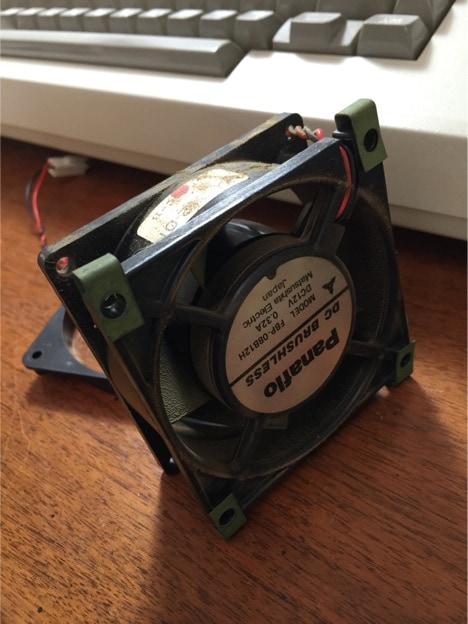
All of this noise from such a little fan.
The stock fan inside of the Z-100 power supply is a 12 volt Panasonic Panaflo FBP-08B12H with an airflow rating of 32.9 CFM (Cubic Feet per Minute). The acoustical noise rating is a stunning 39 dbA! While the stock fan moves a lot of air, it also sounds like a train engine in the process. The fan noise is probably the biggest complaint of the Z-100. Luckily, PC component mechanical specifications haven’t changed much over the years. A standard 80x80x25 mm fan can be used as a drop-in replacement for the Panaflo with just a minor connector modification required.
My new fan of choice was a low-noise Noctua NF-R8 fan purchased from Coolerguys.com. The NF-R8 has an acoustical noise value of 17.1 dB(A) and an airflow rating of 53.3 m3/h (31.4 CFM). The airflow is close enough to be compatible and the noise level is 23 dbA less than the stock fan. 17.1 dB(A) is equivalent to a human whisper so this new fan should effectively cut fan noise to zero.
Disassembly
WARNING: You’re going to be opening up the power supply to replace the fan. There is serious shock risk even after the power cord has been disconnected. If you’re not familiar with electrical safety procedures and working with power supplies in general, you might want to skip this project.

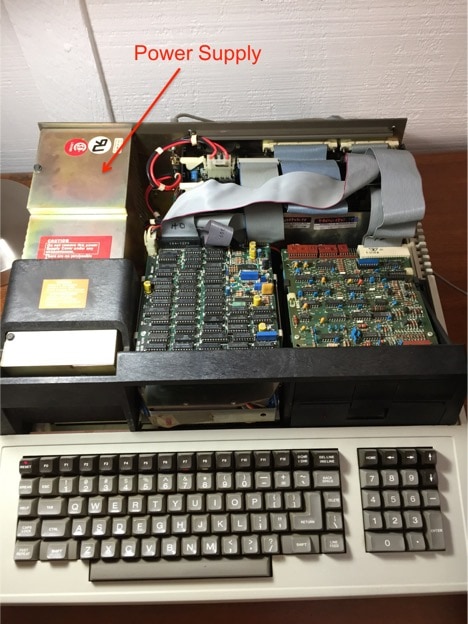
Ok, so you’re willing to risk death for a quieter Z-100 (I know I was). The first thing you need to do is remove the power supply. The Z-100 Technical Manual walks you through how to disassemble the Z-100 one component at a time. You need to get the drive bay out before you can remove the power supply but you don’t need to remove the keyboard or S-100 card cage. With the drive bay out, you’ll need to unplug three more power cables (two motherboard and the S-100 bus power cable). You will then unscrew some screws holding the unit to the base of the chasis and four screws in the rear. After that, the power supply should lift out easily.
Now that the power supply is out, you need to remove the sheet metal housing to expose the power supply internals. Remove the bolts only on the single piece of metal on the same side as where the cables exit. There are approximately 8 bolts in all, four bolts on the face in the picture above (already removed in this picture), some bolts on the top of the unit and two bolts on the rear of the unit. Use a 1/4″ socket wrench for easier unscrewing. With the bolts removed, the metal housing should lift off and you will be able to see into the power supply now like below.
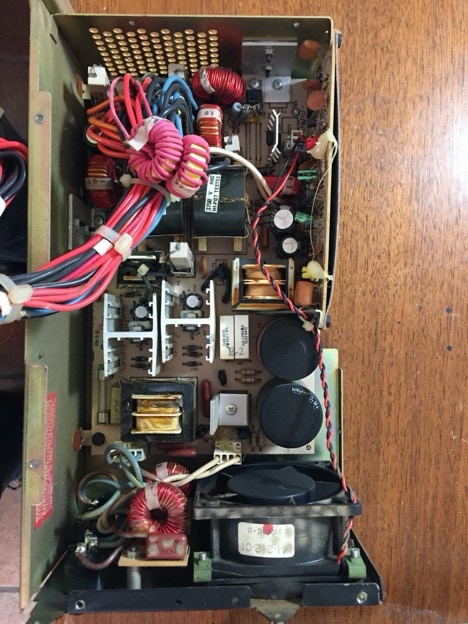
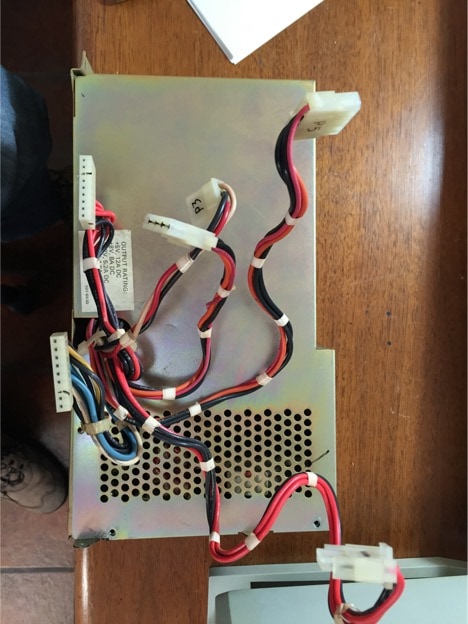
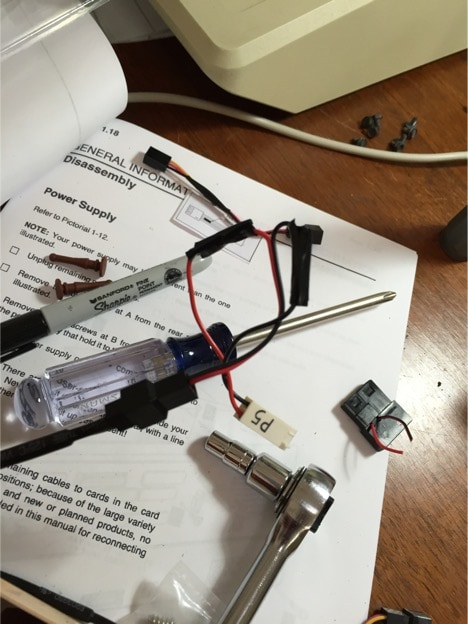
The fan connector is easily unplugged and the fan itself is held onto the back of the power supply by four screws that are easily removed. Unplug the connector, remove the four screws and pull the old fan out.
That’s one old fan! You see those green clips. Pull those off and save those. You also need to snip the connector from the old fan off. The Z-100 fan connector is the one non-standard part of this setup, so we’re going to solder the old connector to the new fan before installing.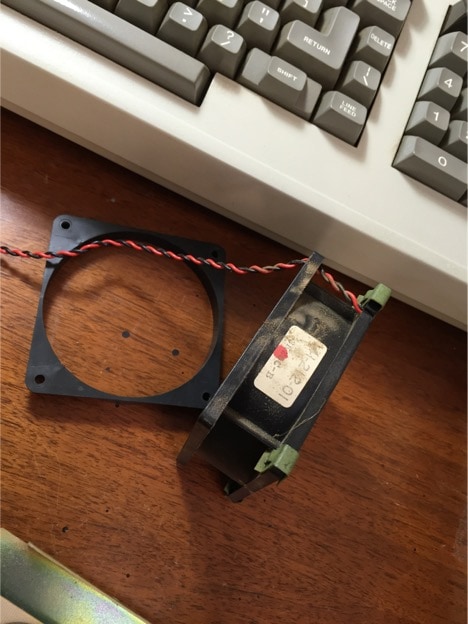
You need to keep the fan bracket/spacer shown above and put it back in place to where it originally sat. While you have the fan out, it’s good idea to clean the case vents with a Q-tip and alcohol. Mine were full of gunk after 30 years.
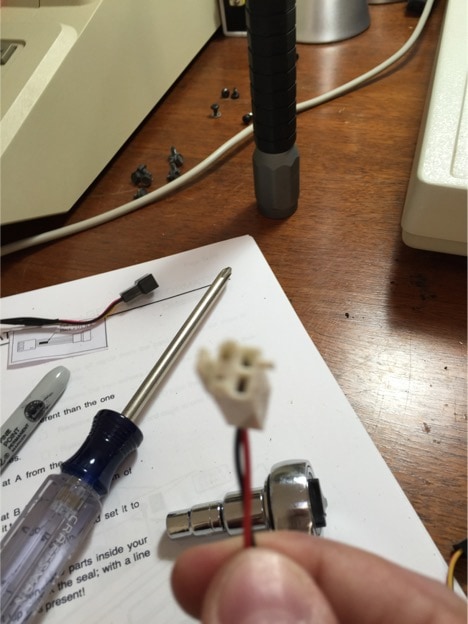
Above is the connector from the old fan. You need to clip the wires on the old and new fans and solder this connector to the new fan so it will plug into the Z-100’s power supply circuit board. Just solder red to red and black to black.
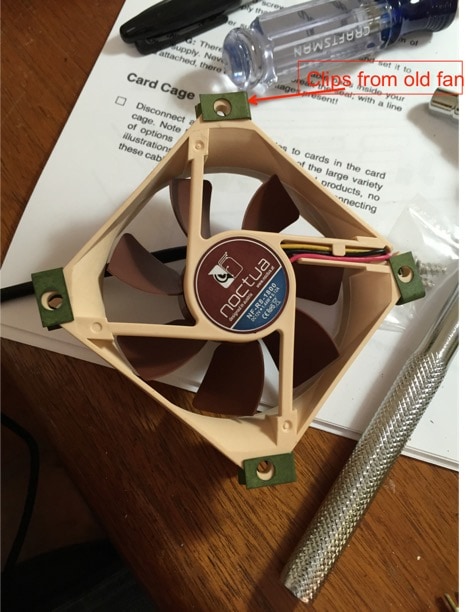
Now you want to attached the green clips from the original fan to the new fan so the screws will have something to thread through. Make sure to use the original screws. Once the clips are in place, attach the new fan where the old one previously sat, remembering to have the Noctua logo facing outwards like you see below.
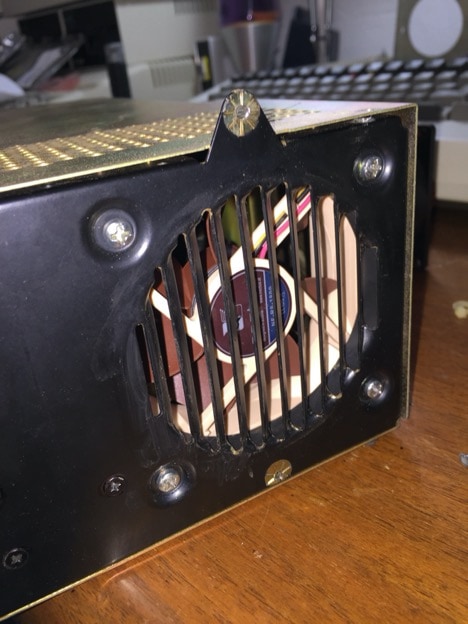
You’re basically done at this point. Just put everything back together in reverse order and power up the system. You should feel air blowing outward from the case just like the original fan. If all went well, you now have a much quieter Z-100!
The loudest device now in my Z-100 is the Winchester hard drive which makes a whining-like sound. It’s about as loud as a typical PC so still very acceptable (I no longer drive my wife out of the room when I power up the Z-100 for some retro fun). The only way to remove the hard drive noise would be to completely replace the Winchester with a flash-based hard drive emulator attached to to the S-100 bus – definitely worth considering for a future project since the hard drive isn’t going to last forever.
In the meantime, enjoy your quiet Z-100.