
Fun with the Kaypro 4
I had never really planned on owning a Kaypro 4, but one day I came across a poor neglected little CP/M machine and I just couldn’t let it be taken to the dump. So I decided to take it home and see what I could do with it.
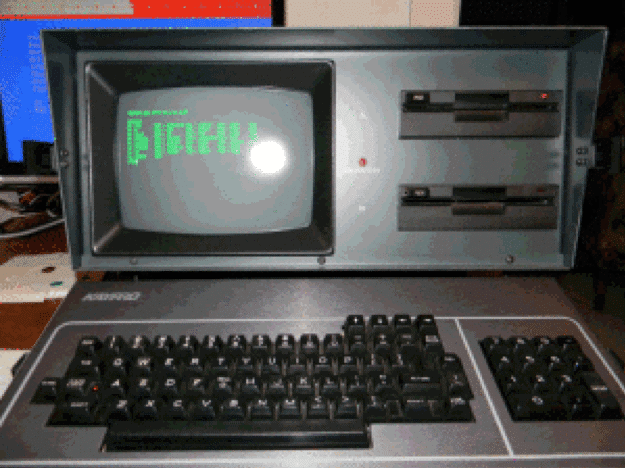
The Kaypro-4-84 is a nice little machine. It has a 4 MHz Z80 processor and a Z80 SIO chip with CTC for serial interfacing (similar to my Apple II PCPI Applicard with the Klein-Baker SIO card attachment). It’s also fairly portable, has a nice sharp monitor display, and who can resist that sleak smoky gray exterior.
I bring the Kaypro home and I don’t have any boot disks for it, so I know that’s going to be an exercise. I gave the system a cursory once-over and it seemed ok from the outside so I decided to turn it on and see what I get. The unit powered up, I hear the A: drive spin up and the monitor prompted me to insert a system disk. All in all, not too bad, I thought. But wait, was that smoke I smelled? All of sudden I see smoke billowing out the back of my Kaypro! A few expletives later and I’ve unplugged the unit thinking maybe this computer was destined for the dump after all.
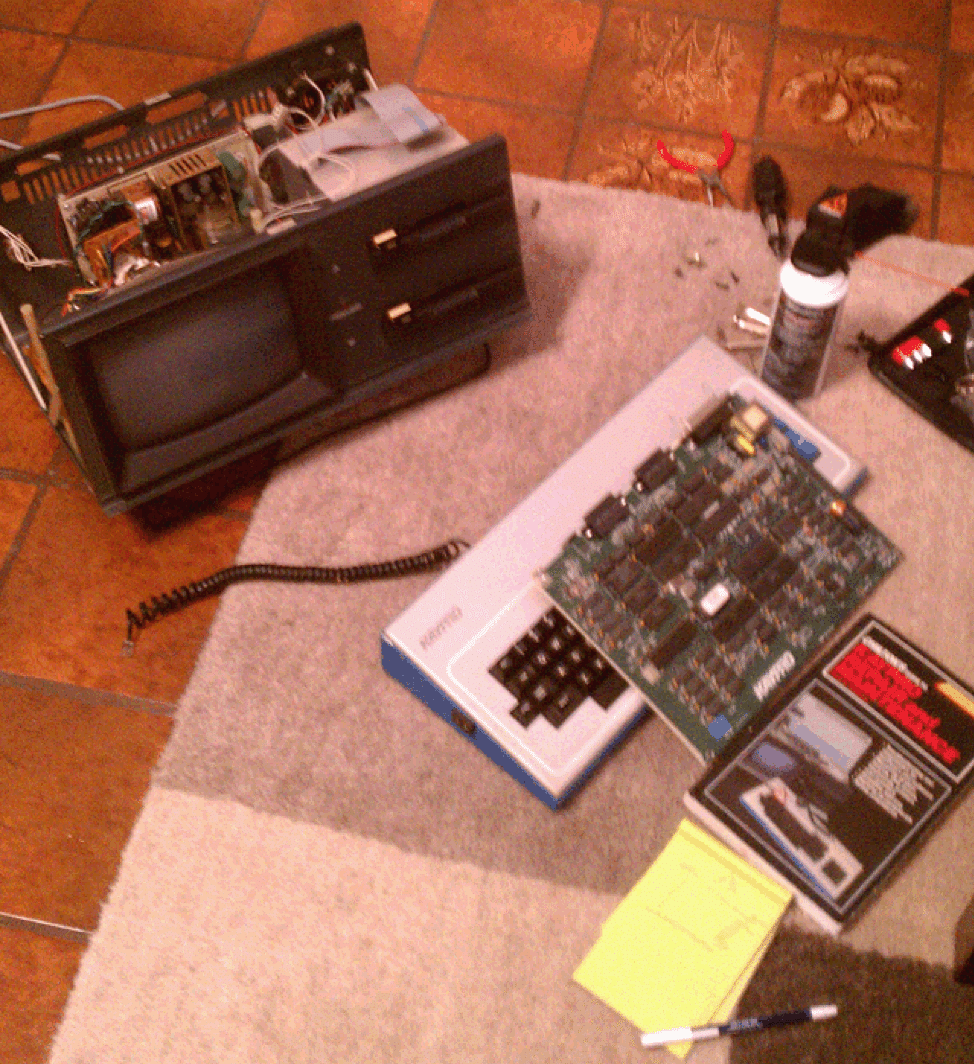
Disassembling my Kaypro after it’s smoky debut
I did a little bit of Googling on smoky Kaypros and came across this site where the author looked to have had the same problem with his Kaypro II. Apparently, the old paper capacitors in the Kaypro power supplies tend to go bad after a few years. There are three or four variants of Kaypro power supply boards, but the problem capacitors are easy to spot like you see here:
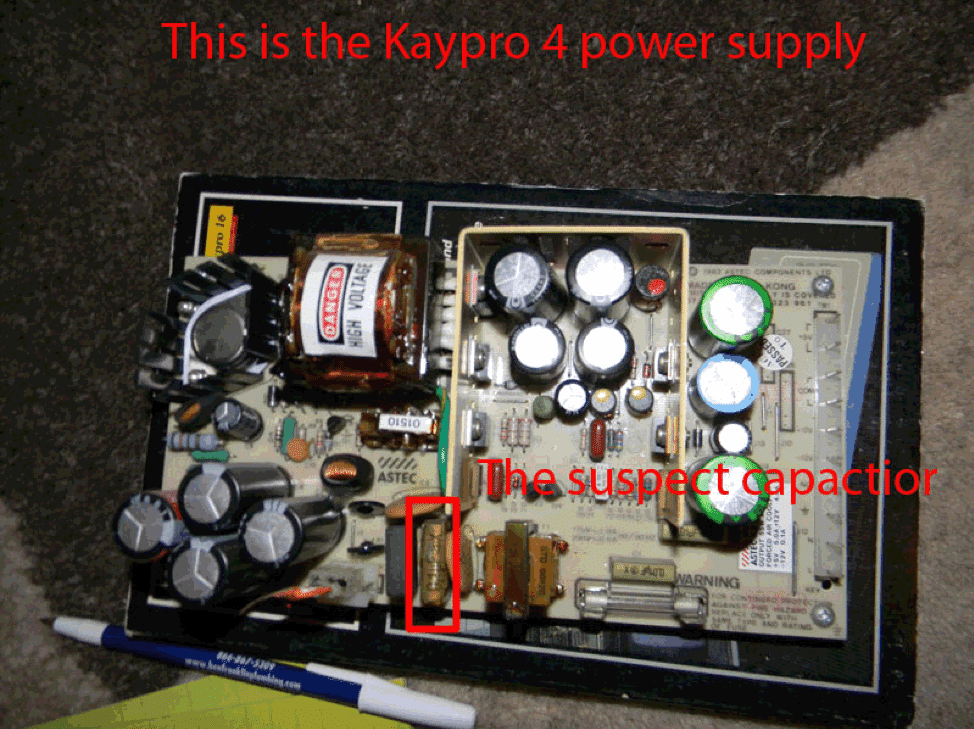
Kaypro 4 Power Supply
You can just see how the highlighted capacitor is cracked and swollen. I decided to replace all of the rice paper caps (I think there were two or three in total) on the power supply board just to be safe. As always, my trusty local electronics store Tanner’s had what I needed. After replacing the capacitors, I put everything back in place and flipped the power switch. Success! My Kaypro was back in action. Now all I needed was a boot disk…
Update 6/2020: Sadly, Tanner Electronics closed this month after almost 40 years.
Making a Kaypro Boot Disk
Everything I needed to roll my own original Kaypro system disks I found on Dave Dunfield’s website. He has a marvelous program called ImageDisk that will read/write disk images in a variety of vintage PC formats including Kaypro. The only trick is that you need a pure DOS PC and an old 5 1/4″ DSDD floppy drive running at 300 rpm (Even though 1.2 Meg drives can write DSDD floppies, these drives spin at 360 rpm making the disk tracks unreadable to the Kaypro’s 300 rpm drives). I found an old 386 easily enough, but finding a working DSDD 5 1/4″ floppy drive was surprisingly difficult. Dave has a great tutorial on converting a 1.2 MB floppy drive to 300 rpm. So a project within a project was born and the result was a nifty little DOS PC good for writing a variety of disk images in all shapes and sizes.
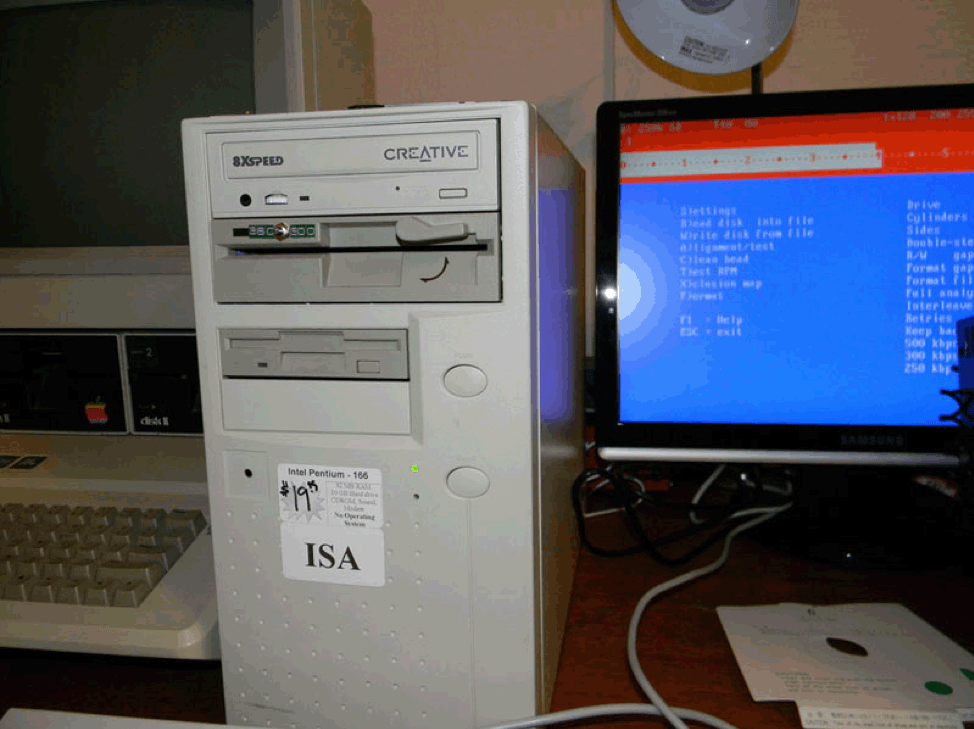
Old DOS PC scavenged from a local vintage PC supply house
Now I was ready to make some Kaypro system disks. A complete set of Kaypro 4 disk images in ImageDisk format are located here.
Half an hour later I had a full batch of Kaypro disks written and ready to try out. I inserted the CPM 2.2 boot disk, turned on the Power switch and success! My Kaypro booted up to a CP/M prompt.
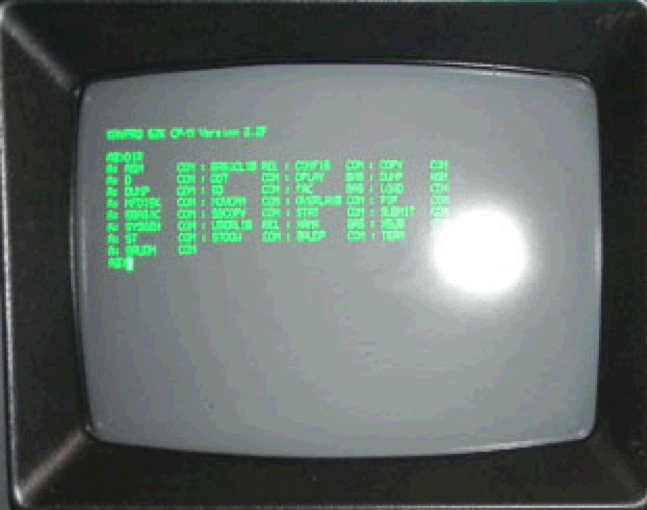
Kaypro 4 boot prompt
Transferring More Files to the Kaypro
So I had a batch of working Kaypro system disks and now I wanted to load this puppy up with cool CP/M software. The only problem was none of the system disks contained a terminal program – argh! Luckily I came across a old program called 22Disk for PC DOS. 22Disk lets you copy files from/to CP/M disks. Unfortunately, my first attempts using 22Disk with my 300 rpm modified drive were unsuccessful. I ended up pulling one of my original Kaypro drives out of the drive bay and attaching it to the PC’s floppy drive controller. I hadn’t realized until now that the PC and Kaypro 5 1/4″ floppy drives and their connectors are compatible.
By this time, I was really getting to know my Kaypro 4. I had disassembled and reassembled most of the unit, replaced some capacitors and now I was pulling the disk drive bays out which are fiendishly cumbersome to remove, by the way. You have to remove the motherboard first in order to access the drives.
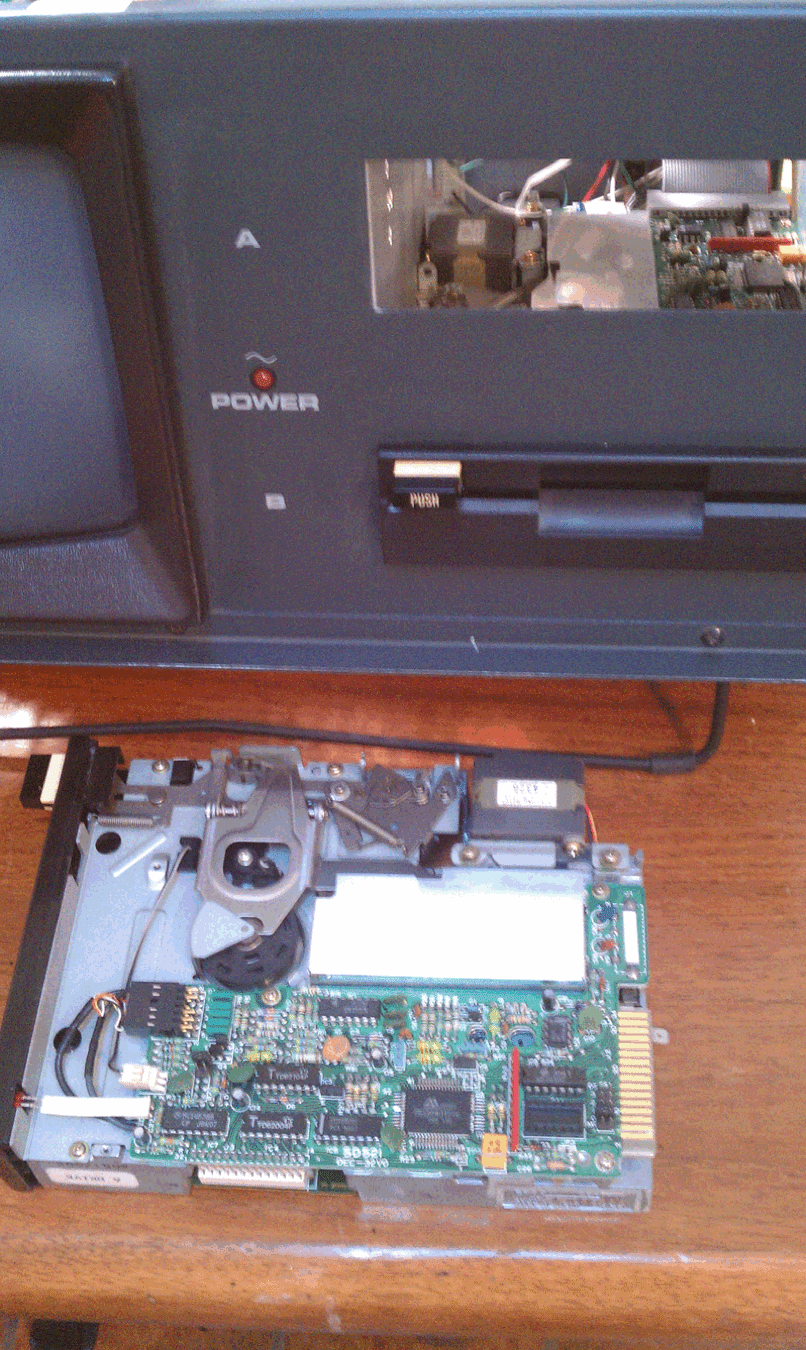
Kaypro 4-84 Disk Drive
While I had the drives out, I had noticed that the little push button floppy ejectors were gummed up and weren’t ejecting the floppies as they should. You can see the push button in the upper left hand corner of the picture above. The upper silver metal parts are part of the spring-loaded ejection/insertion mechanism. After applying a little engineering grade isopropyl alcohol to the nooks and crannys of the ejector mechanisms of both drives, the things worked good as new.
You can also see in this picture that the floppy connector is a standard PC IDE connector. Getting back to 22Disk, I unplugged my 1.2 Meg floppy drive in my 386 PC, dropped in the Kaypro drive and then used 22Disk to write two Kaypro-formatted disks with the Mite terminal software. I had read that Mite was a decent terminal program that supported XModem and had an automatic installation and configuration utility for Kaypros. Not knowing if my serial ports were even functional at the time, I wanted a terminal program that was hopefully already configured for my hardware and would not require me to write CP/M overlays. I was not disappointed.
After creating the two Mite disks, I removed the Kaypro drive from the PC, reinserted it back into the Kaypro drive, and reassembled the Kaypro back into one piece. With my trusty (and already tested) null modem serial cable in hand, I fired up the Kaypro, configured Mite and finally, I had serial communications between my Kaypro and my modern Mac. And because Mite is an interrupt-driven terminal program (one of the very few of the time), I achieved transfer rates up to 19200 bps – truly outstanding!
Now the really fun part began. I had a field day transferring and installing all sorts of cool CP/M apps on my Kaypro. There’s nothing quite like playing a game like Nemesis on the machines it was originally meant to be played on.